Deploying Your Node.js App on a DigitalOcean Droplet: A Step-by-Step Guide (SSL Config Included)

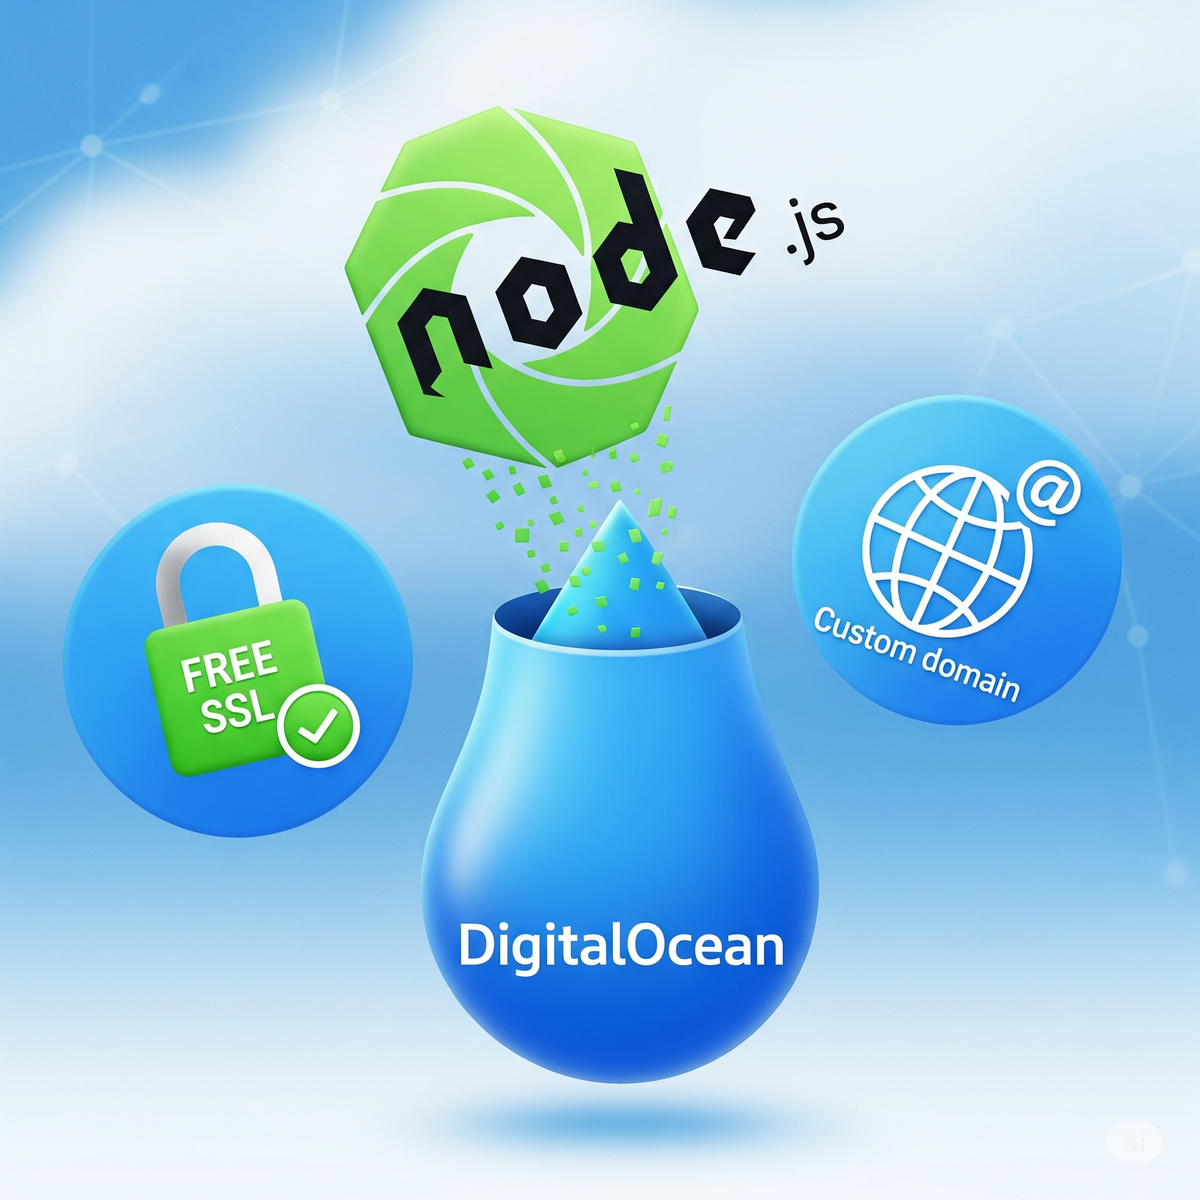
This tutorial should take a few minutes to complete. At the end, you will have a secure Node.js API running on a Digital Ocean droplet with a free SSL certificate and a connected custom domain from NameCheap.
I have broken down the process into four (4) steps and an optional bonus chapter for implementing security on your Node API.
1. DigitalOcean Account & Droplet Setup
2. Droplet Login & Package Installation
3. Clone & Prepare Your App
4. Keep your app always running with the PM2 process manager
Added Security Steps
∘ Enable ufw firewall
∘ Use Nginx as a reverse proxy
∘ Create a domain and connect it to your server
∘ Create an SSL Certificate and enable HTTPS
1. DigitalOcean Account & Droplet Setup
If you don’t have an account yet, you can sign up on Digital Ocean with my referral link and get $200 in credit over 60 days.
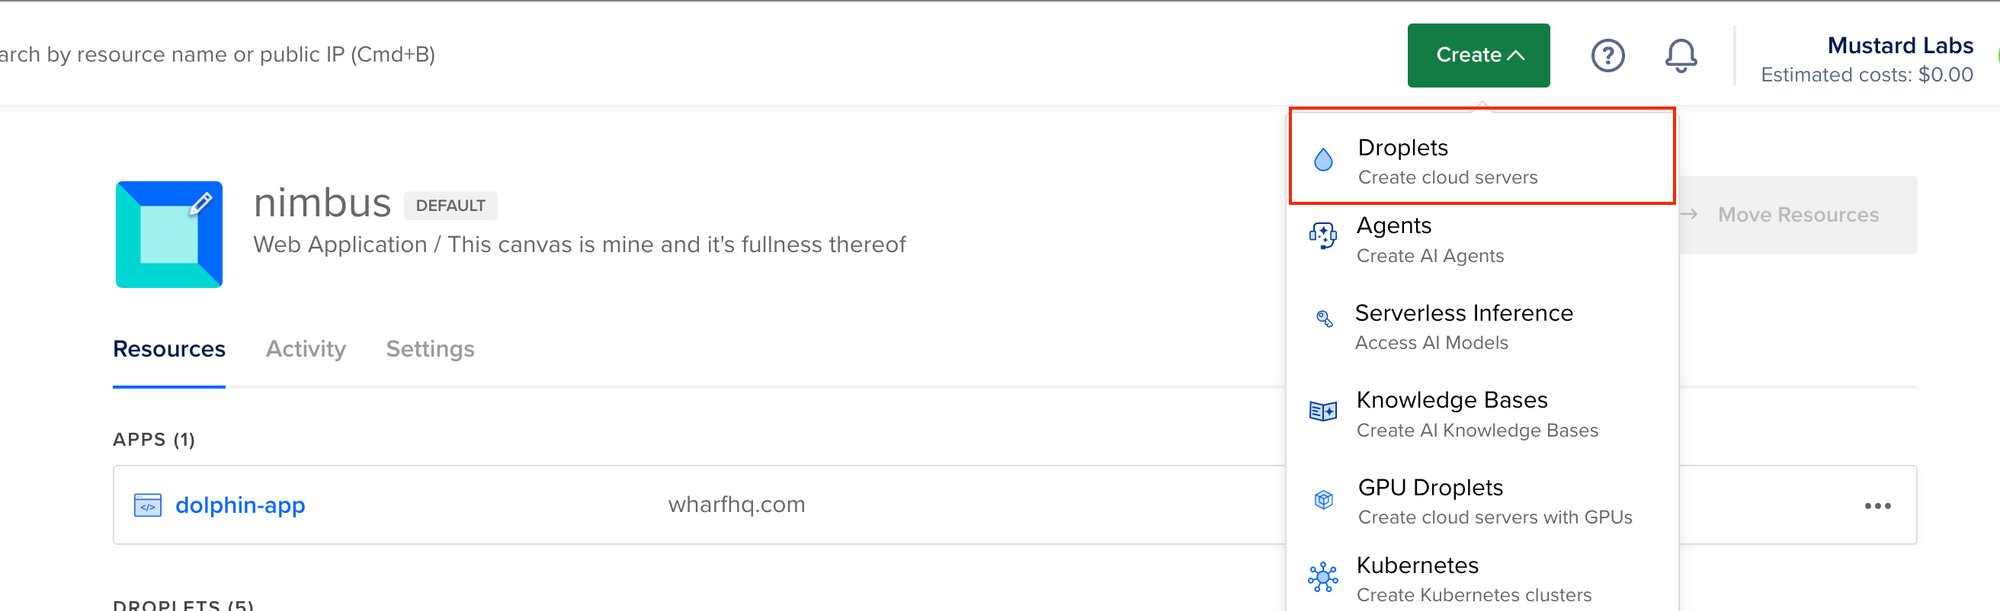
Once you sign up, create a server by clicking “Create” at the top right-hand side of the dashboard and then “Droplets”.
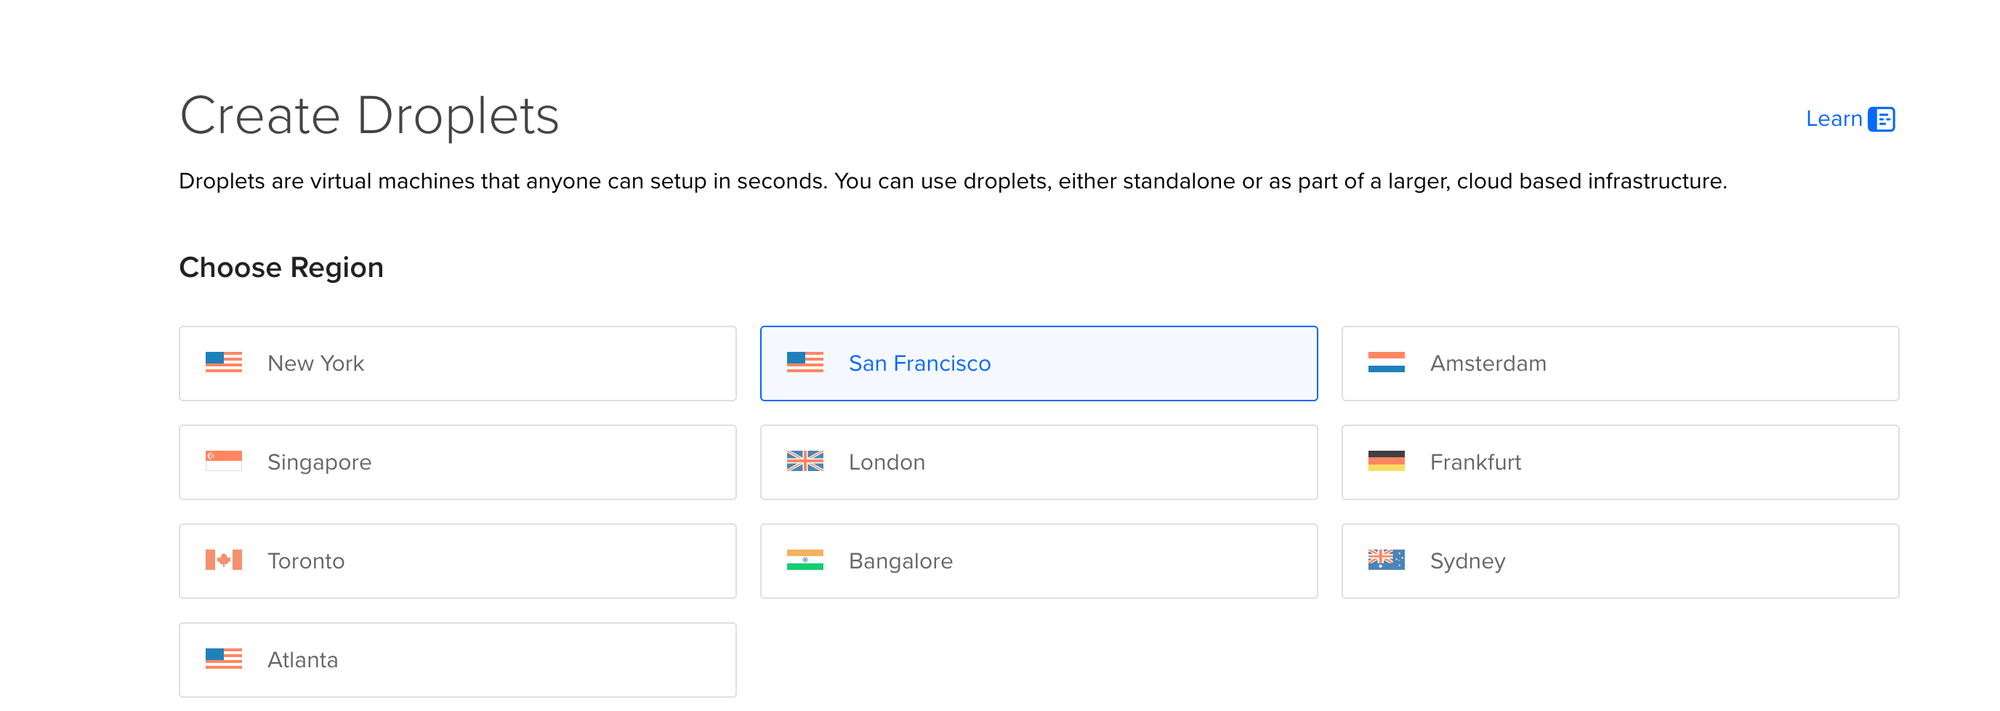
When creating your Droplet, choose a region close to your users to minimize latency.
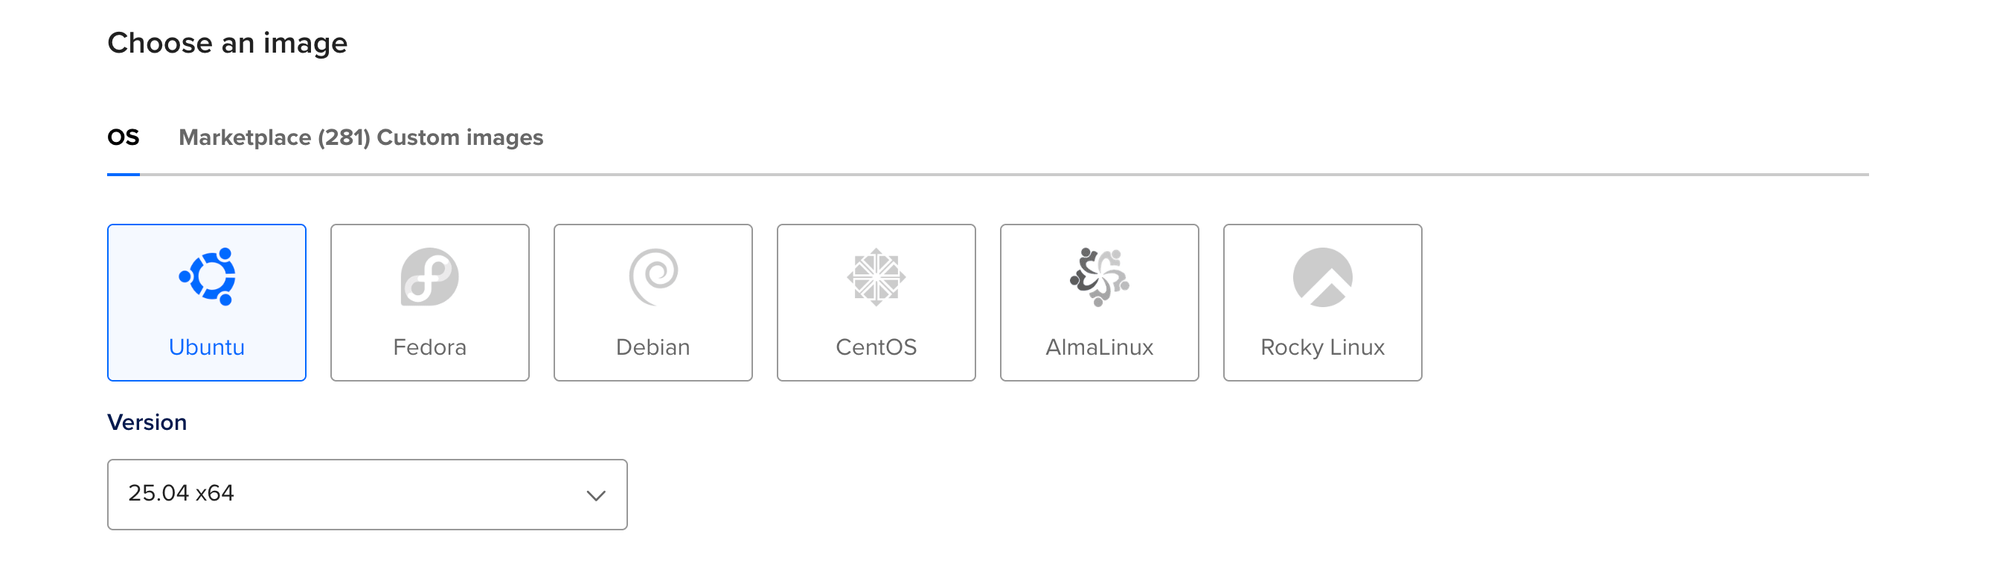
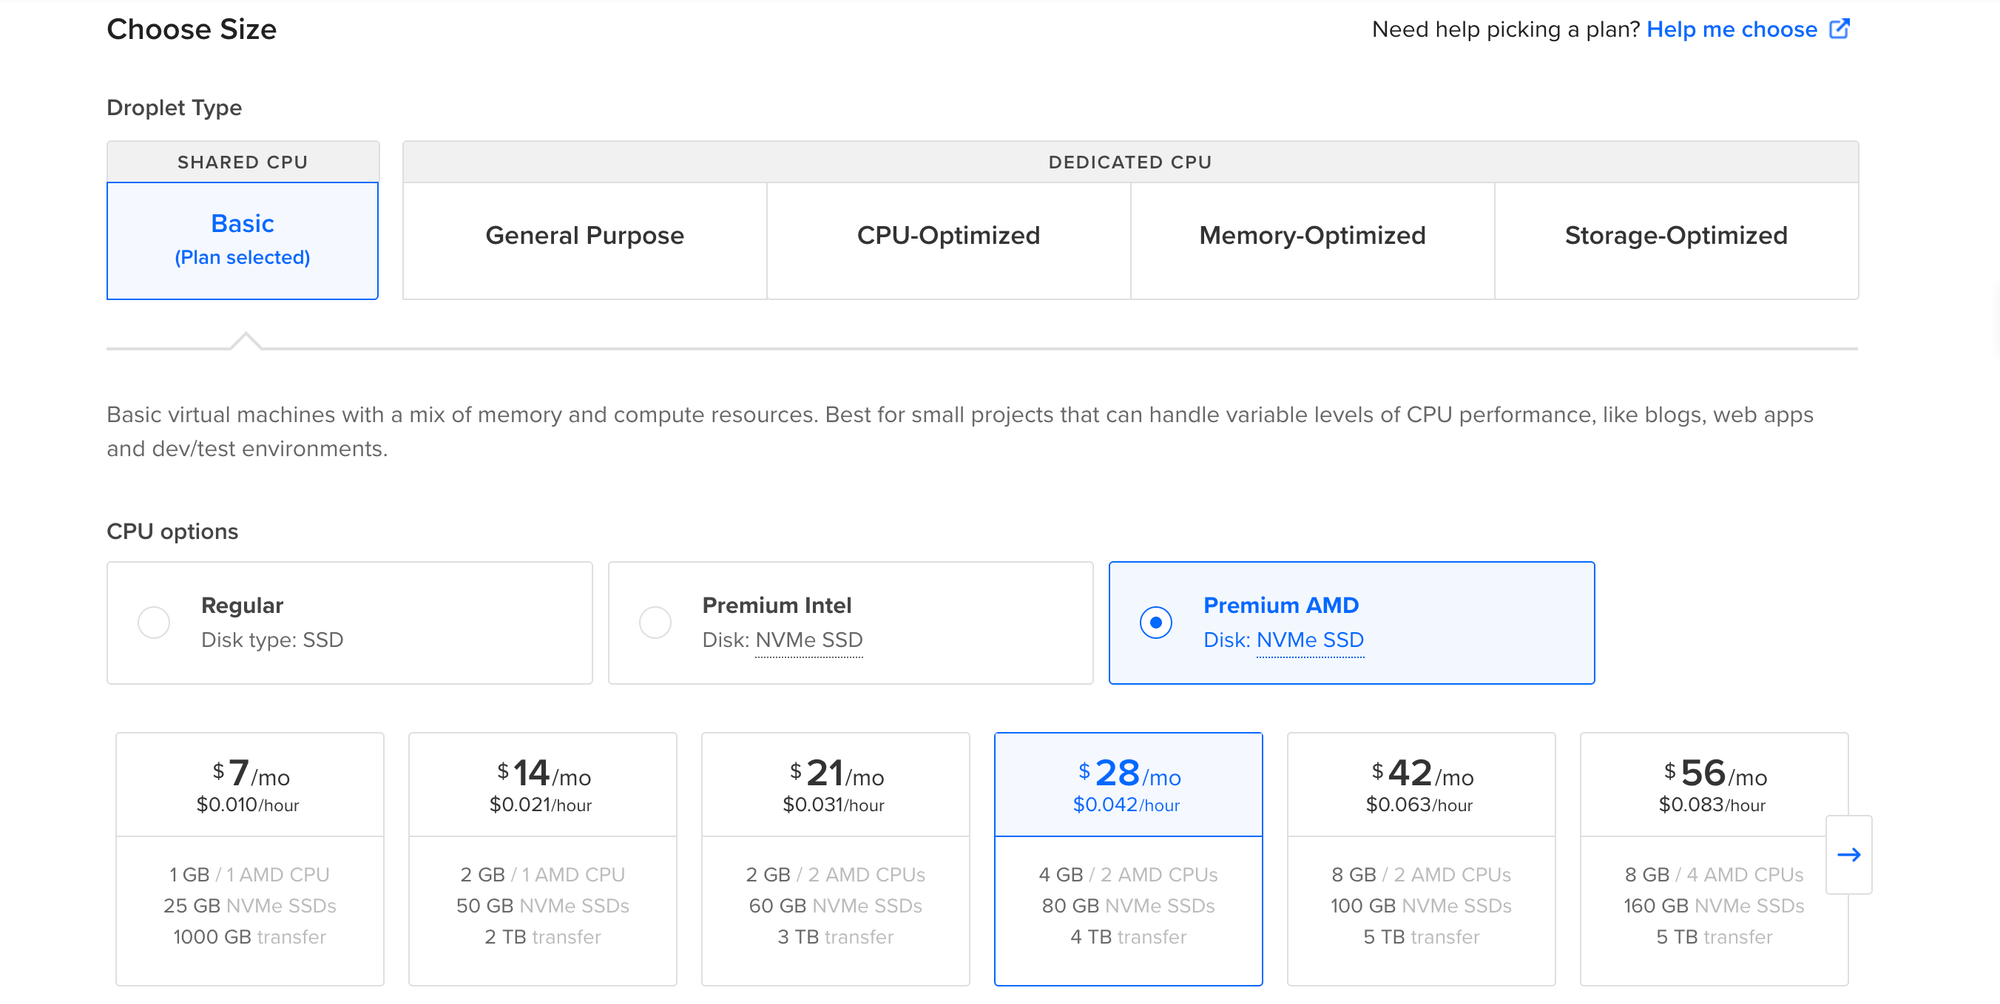
Choose your operating system of choice. I often recommend using Ubuntu OS 24.
And for the CPU Options — I recommend starting from a low tier; you can always upgrade later.
Now, we need to select the authentication method. For this step, we will set up SSH keys for secure authentication.
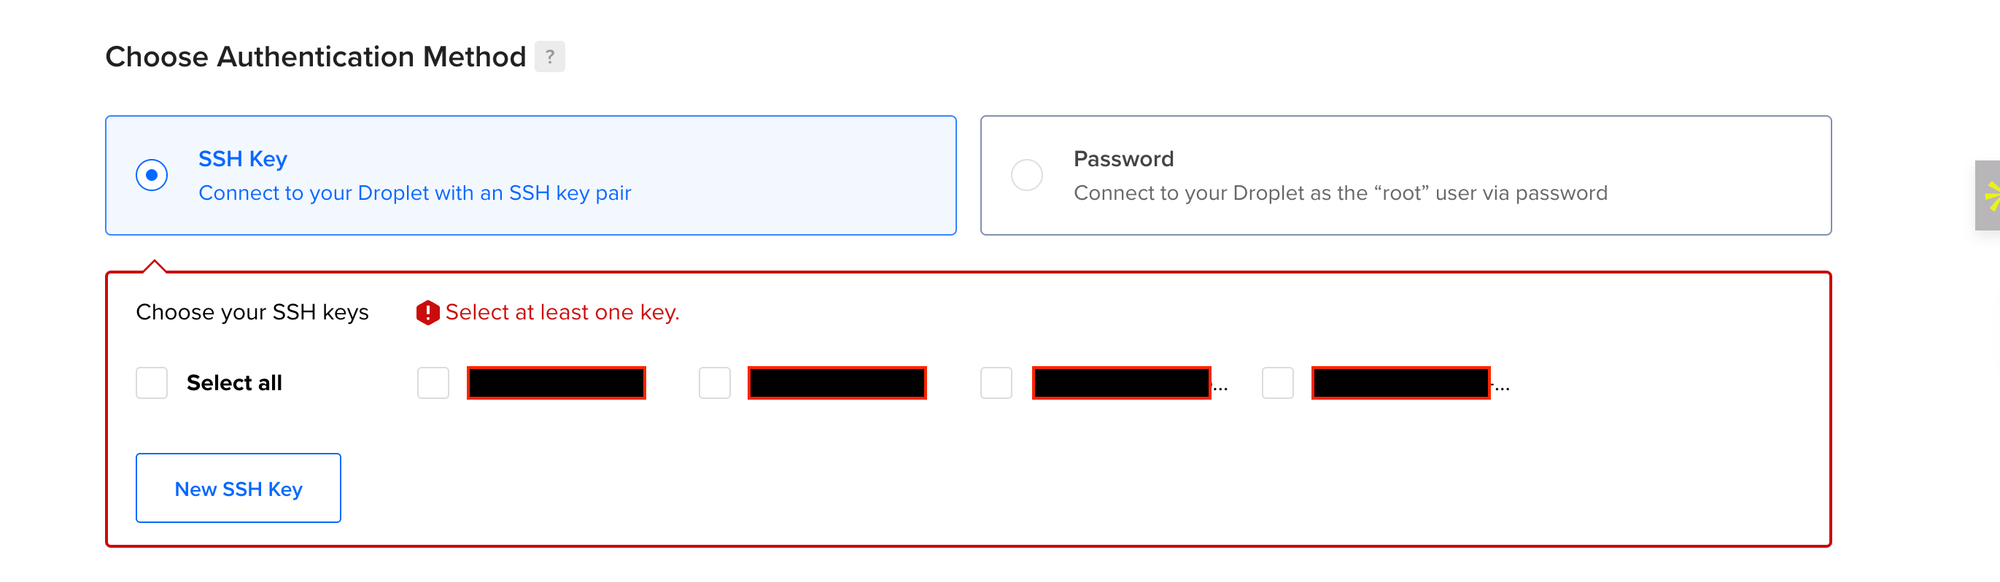
For secure authentication, select “New SSH Key” and let’s generate SSH keys in your terminal.
Follow these instructions to create new SSH keys on Linux, MacOS & Windows. Windows users without OpenSSH can install and use PuTTY instead.
First, open your local machine terminal and run ssh-keygen the command to generate a new pair of SSH keys.
It will ask you for the key name. I recommend setting up a separate named key for your server (like tutorial_showcase).
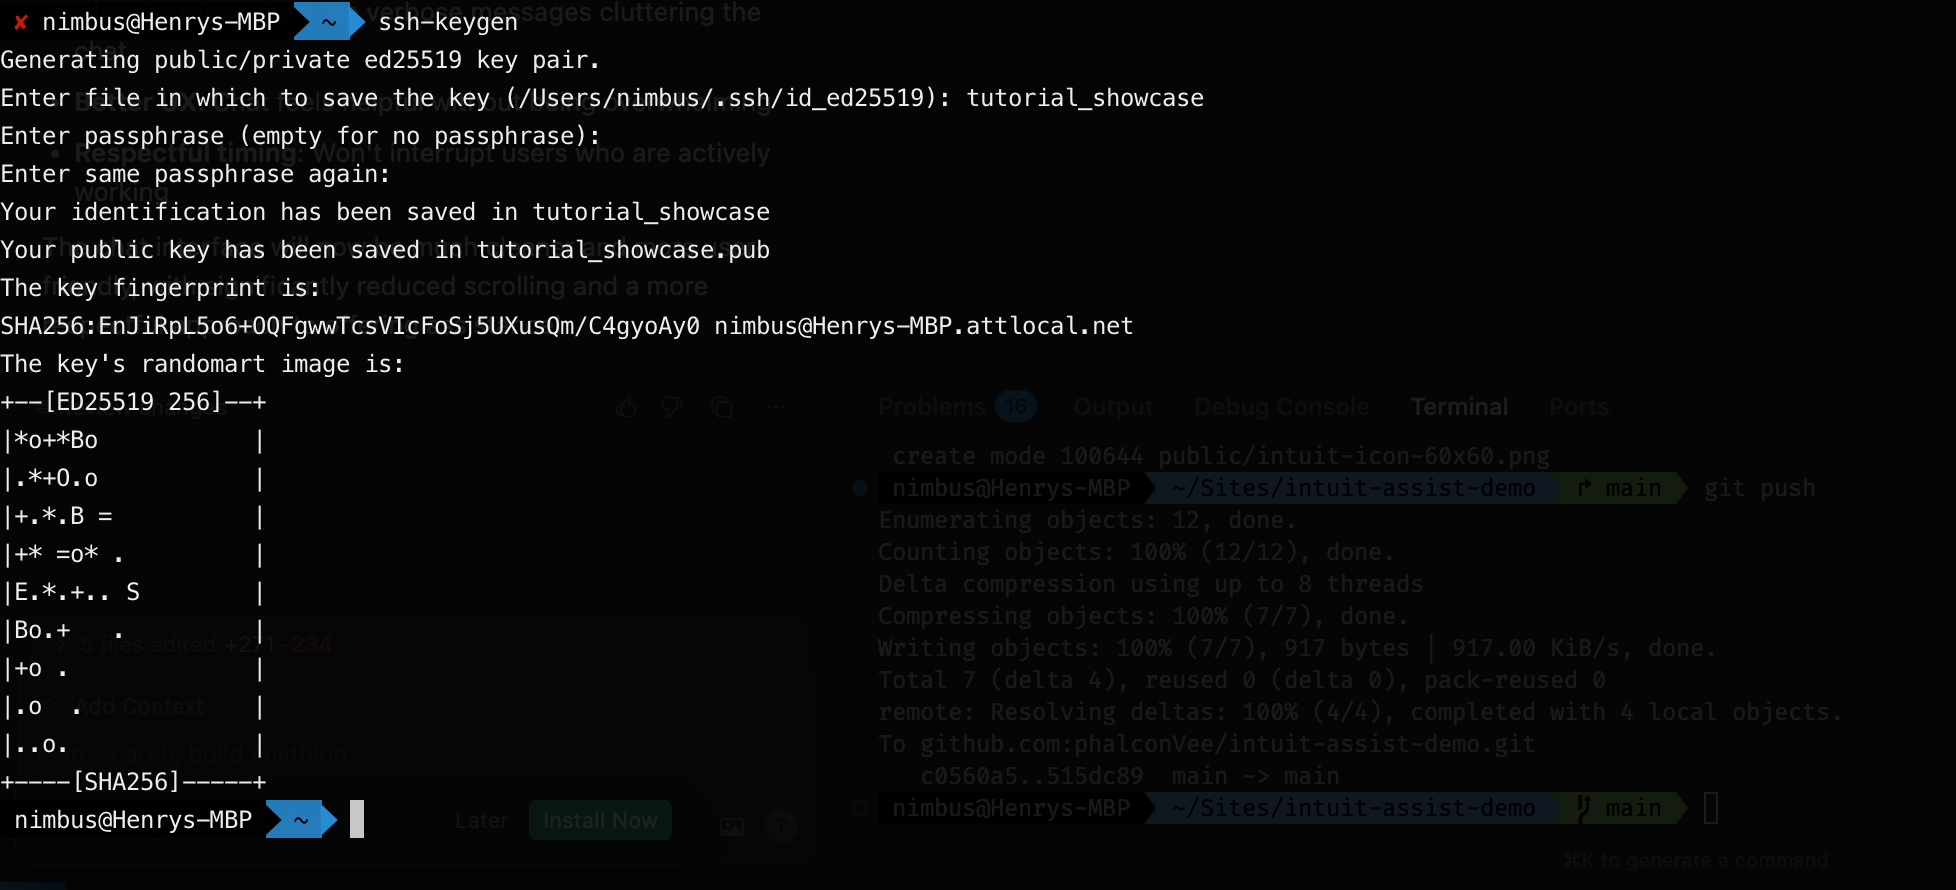
In the next step, it asks for a passphrase. You can enter a passphrase for extra security or leave it empty and hit enter.
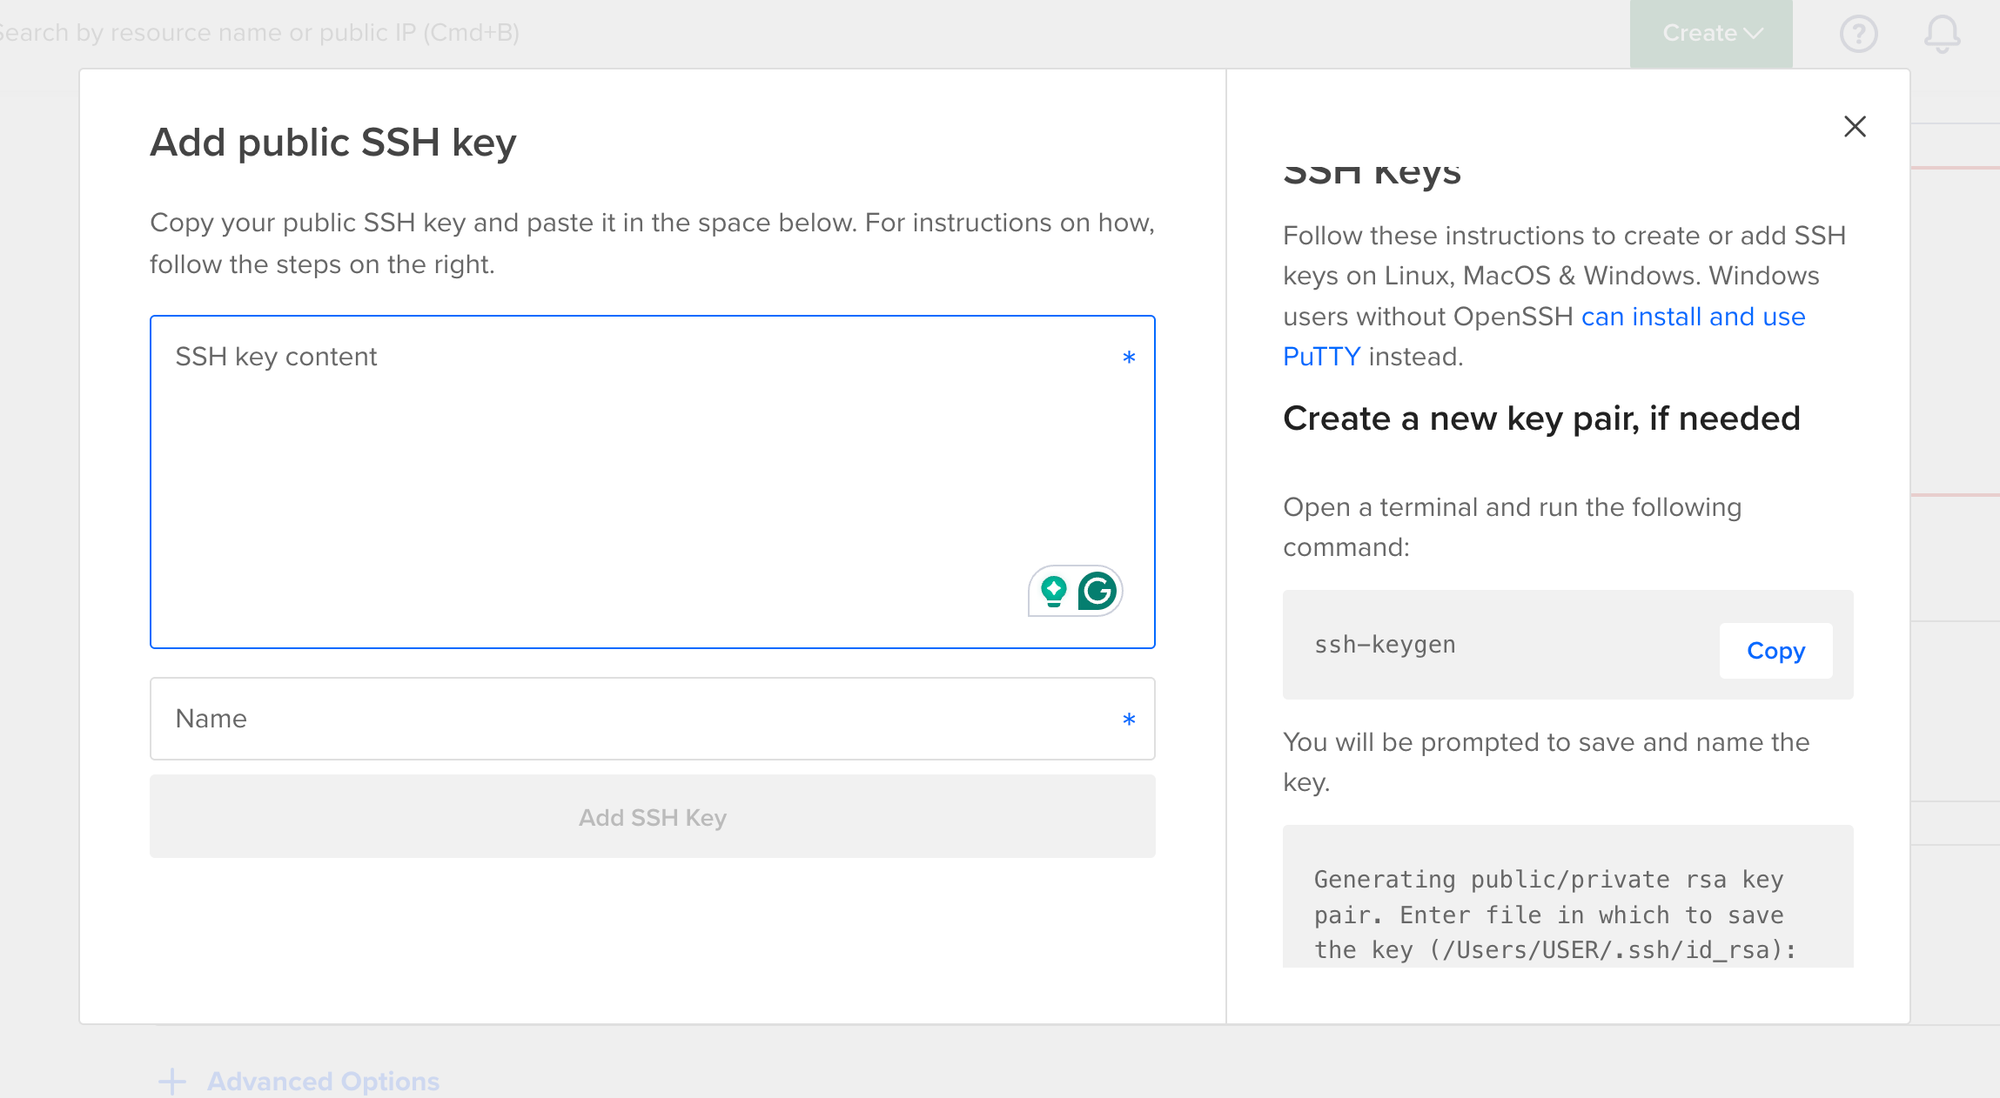
Now, copy the public key created with cat ~/.ssh/tutorial_showcase.pub the command and paste it into DigitalOcean. Then click Add SSH Key.
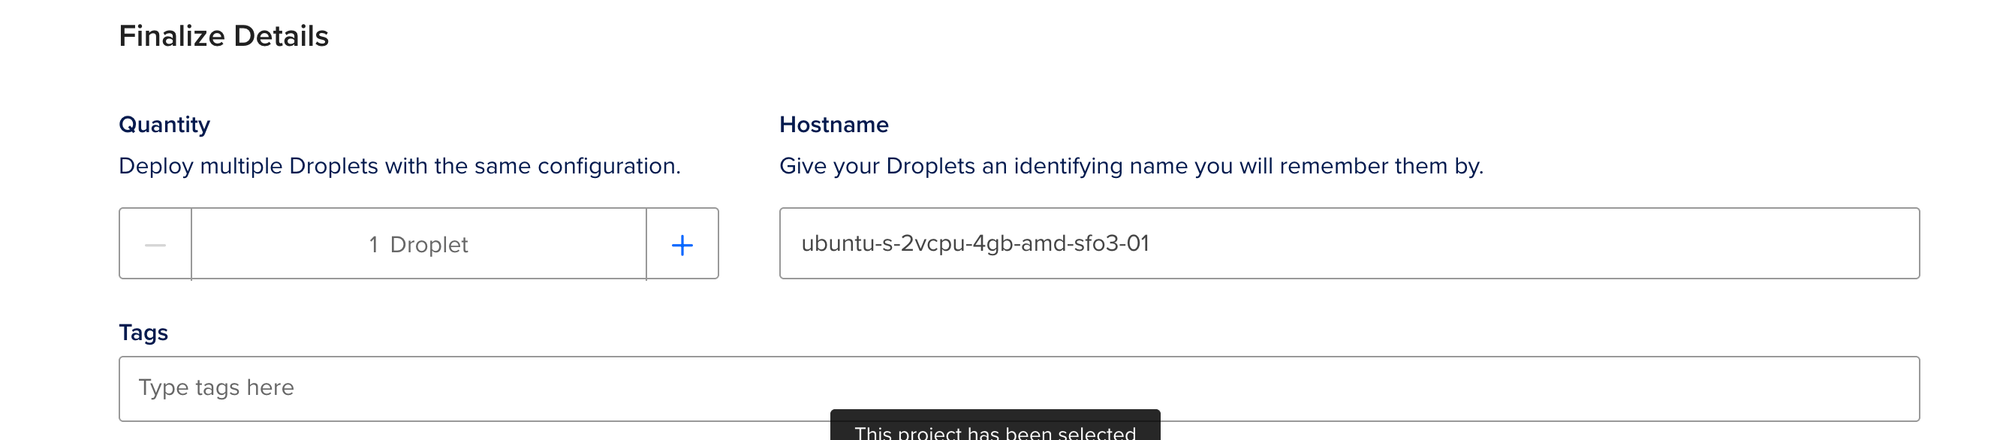
Choose a Hostname and click on Create Droplet.
2. Droplet Login & Package Installation
We are now ready to access the droplet and install the necessary packages to ensure a smooth running of our app.
Now go to the "Access" tab of the newly created droplet and click Launch Droplet Console.

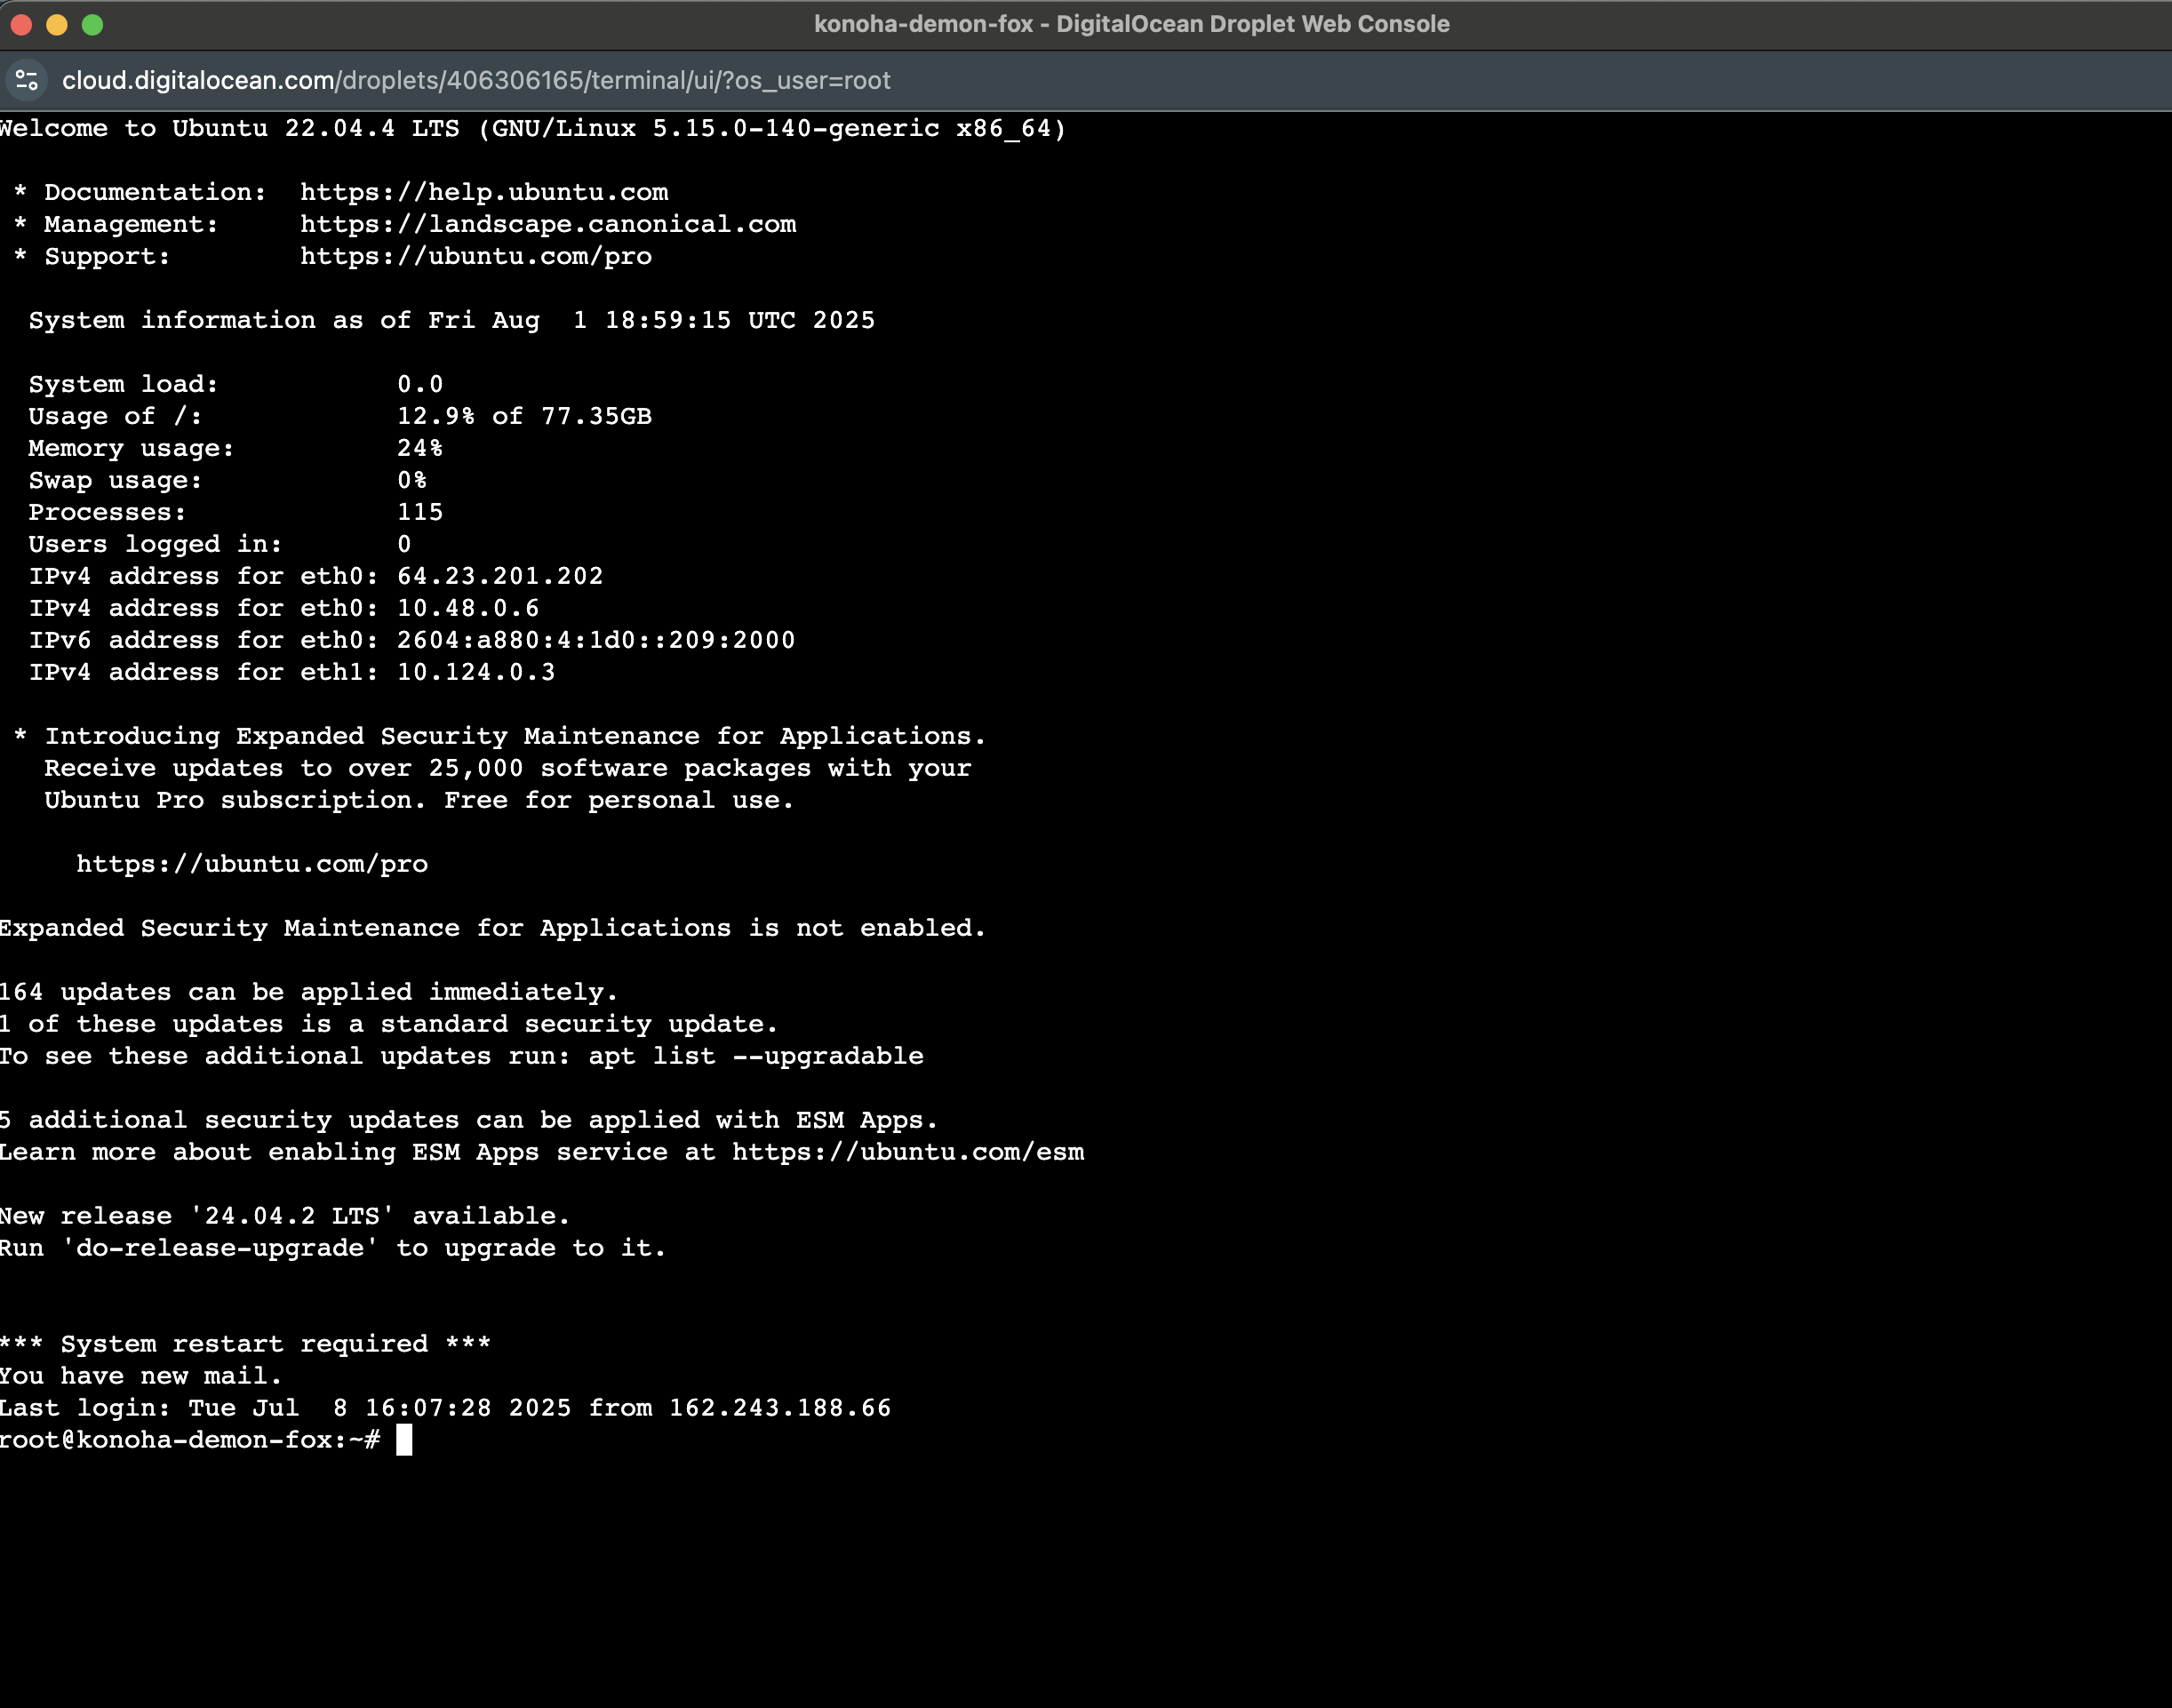
This will exchange the SSH keys, and you will be logged into the droplet, where you should see something like the following.
Install Node.js
First, let us prepare the droplet environment by installing nvm with this command:
curl -o- https://raw.githubusercontent.com/nvm-sh/nvm/v0.39.7/install.sh | bashThen close and reopen the droplet console (shell) so it updates the terminal (or run source ~/.bash). And install the Node version that your server needs. Here, I'll always recommend the latest stable version of Node.
nvm install --ltsInstall Git and Configure GitHub Access on Droplet
Next, we will install Git and ensure our droplet has remote access to our GitHub repository. Run the command below to install Git.
sudo apt install git-allThen follow the commands below to ensure your droplet have access to your GitHub account, you can alos use this to setup Github Actions CI/CD on your workflow if need be.
Step 1: On your local machine, run

scp ~/.ssh/tutorial_showcase root@<your-droplet-ip>:/root/.ssh/tutorial_showcase

scp ~/.ssh/tutorial_showcase.pub root@<your-droplet-ip>:/root/.ssh/tutorial_showcase.pub

Step 2: On your remote server (droplet), ensure the directory has the correct permissions by running

chmod 700 ~/.ssh
chmod 600 ~/.ssh/tutorial_showcase

Step 3: Check if it has been added to your droplet by running

ls -al ~/.ssh/

You should see your private and public keys among the list.

Step 4: Still on your remote server (droplet), run the commands

eval "$(ssh-agent -s)"
ssh-add ~/.ssh/tutorial_showcase

Step 5: Display the private key (copy it and add it to your GitHub secret)

cat ~/.ssh/tutorial_showcase

Copy it and add it to your GitHub secret. Settings -> SSH & GPG Key -> New SSH key

Step 5: Test connection to GitHub

ssh -T git@github.com

If everything goes well, you should see: "Hi [name], You've successfully authenticated, but GitHub does not provide shell access."
3. Clone and Prepare Your App
Now that we have Git and Node.js installed on our server and the correct permissions have been granted, we need to clone our project to the server.
If your repository is public, you can follow these steps. Otherwise, you need to log in to your GitHub account from the terminal before cloning it.
git clone your_project_linkNavigate to your cloned project and install dependencies:
cd your_project && npm iIf you have environment variables, you need to add them to the server manually. While you’re in the project folder, create your .env file by using the command touch .env , and then edit its content using the command nano .env.
Copy and paste your environment variables here, then press Ctrl + O and enter to save and Ctrl + X to exit the file.
Optionally, you may also need an additional step of building the app with the command npm run build, depending on your setup.
4. Configure PM2 Process Manager
To keep your app constantly running in the background, we'll need to configure the PM2 process manager. This is because we want to run our Node.js API as a process on this server. For that, we’ll install the PM2 process manager globally:
npm install pm2@latest -gAnd then, we can run it using PM2:
pm2 start your_entry_file.js
Set your app to start when the server is rebooted with this command:
pm2 startup ubuntuNow, our application always runs in the background. You can verify this by retrieving your droplet IP from the dashboard and accessing it in the browser using the route used in your app.

That’s it! You can use your Node.js API like that. However, if you’d like to add a couple of security considerations, stick around in the bonus section.
We will secure our API by adding an SSL certificate to enable HTTPS and connecting it to a domain instead of accessing it with an IP address.
Added Security Steps
Enable ufw firewall
Now let’s enable the ufw firewall, allowing SSH (port 22), HTTP (port 80), and HTTPS (port 443). Go to the server’s terminal and run:
ufw enableIt will prompt whether you want to activate the firewall — type “y” and hit enter. Next, allow SSH, HTTP, and HTTPS with:
ufw allow ssh && ufw allow http && ufw allow httpsUse Nginx as a reverse proxy
Let’s configure Nginx as a reverse proxy so that our API is accessible on the default port (80) instead of 8000 (or whatever your API port is).
Install Nginx on the server with this command
sudo apt install nginx
Now, let’s edit the config file on the server with the command below.
nano /etc/nginx/sites-available/default
Additionally, while we’re here, you can also configure your domain name if you plan to connect this server to a domain. This will open that file for editing. Find server_name and location lines here and replace them.
server_name yourdomain.com www.yourdomain.com;

location / {
        # First attempt to serve request as file, then
        # as directory, then fall back to displaying a 404.
        proxy_pass http://localhost:8000; #or your app port
        proxy_http_version 1.1;
        proxy_set_header Upgrade $http_upgrade;
        proxy_set_header Connection 'upgrade';
        proxy_set_header Host $host;
        proxy_cache_bypass $http_upgrade;
}
Once you’re done, press Ctrl+X. It will prompt you to save — type “y” and press Enter. Now let’s restart the nginx server:
$ sudo /etc/init.d/apache2 stop
Stopping apache2 (via systemctl): apache2.service.
$ sudo systemctl restart nginx
$ sudo service nginx restart
You can now make a request to your IP address on the default port, and it will redirect you to the port where your app is running (in my case, 8000). In fact, all other ports are now disabled except for 80 and 443.
Create a domain and connect it to your server
I’ll be using Namecheap for domain registration because I find it to be the easiest to set up and the most affordable. You can buy domains here for as cheap as $1.
If you decide to use Namecheap, please consider using my referral link. I’ll receive a small commission from your purchase.
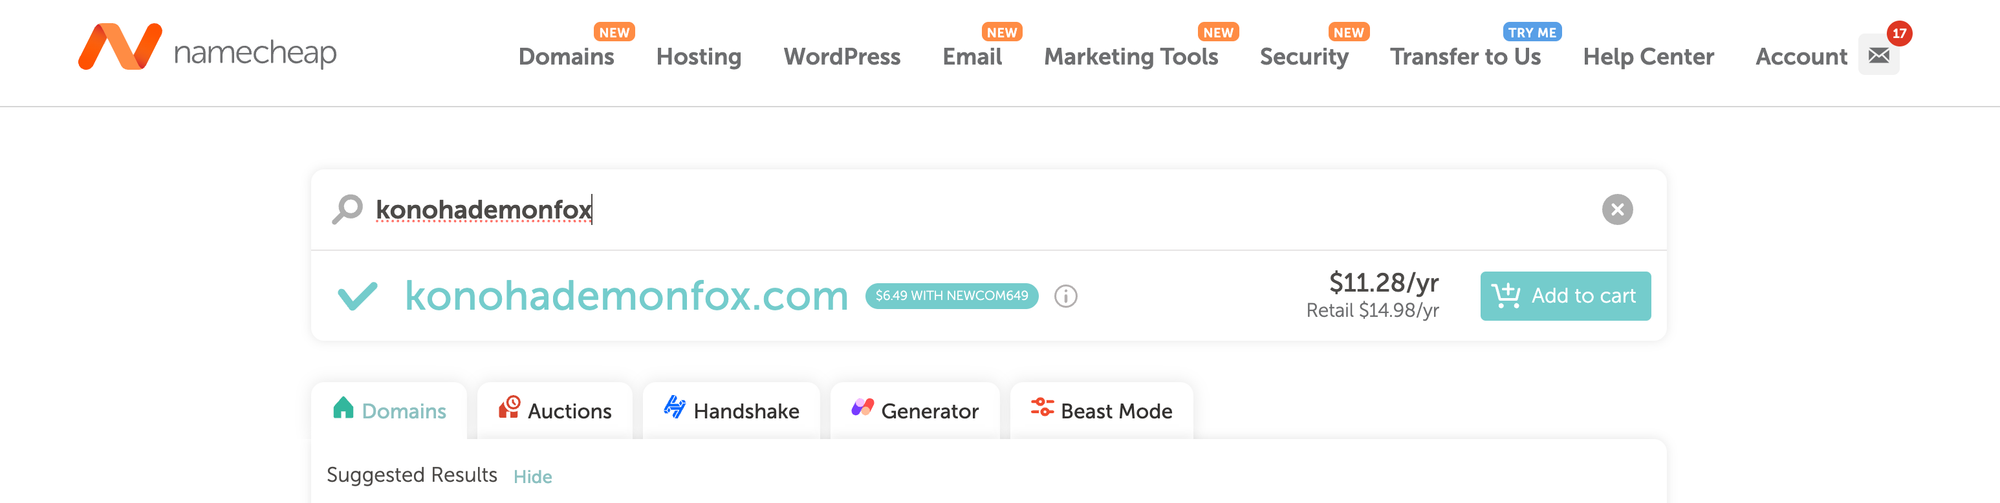
Let’s go to Namecheap and register a new domain. Search for a domain that you want, add it to your cart, and go to the checkout.
Once you’ve registered your domain, go to the Networking tab on Digital Ocean. Enter your domain and click Add Domain.
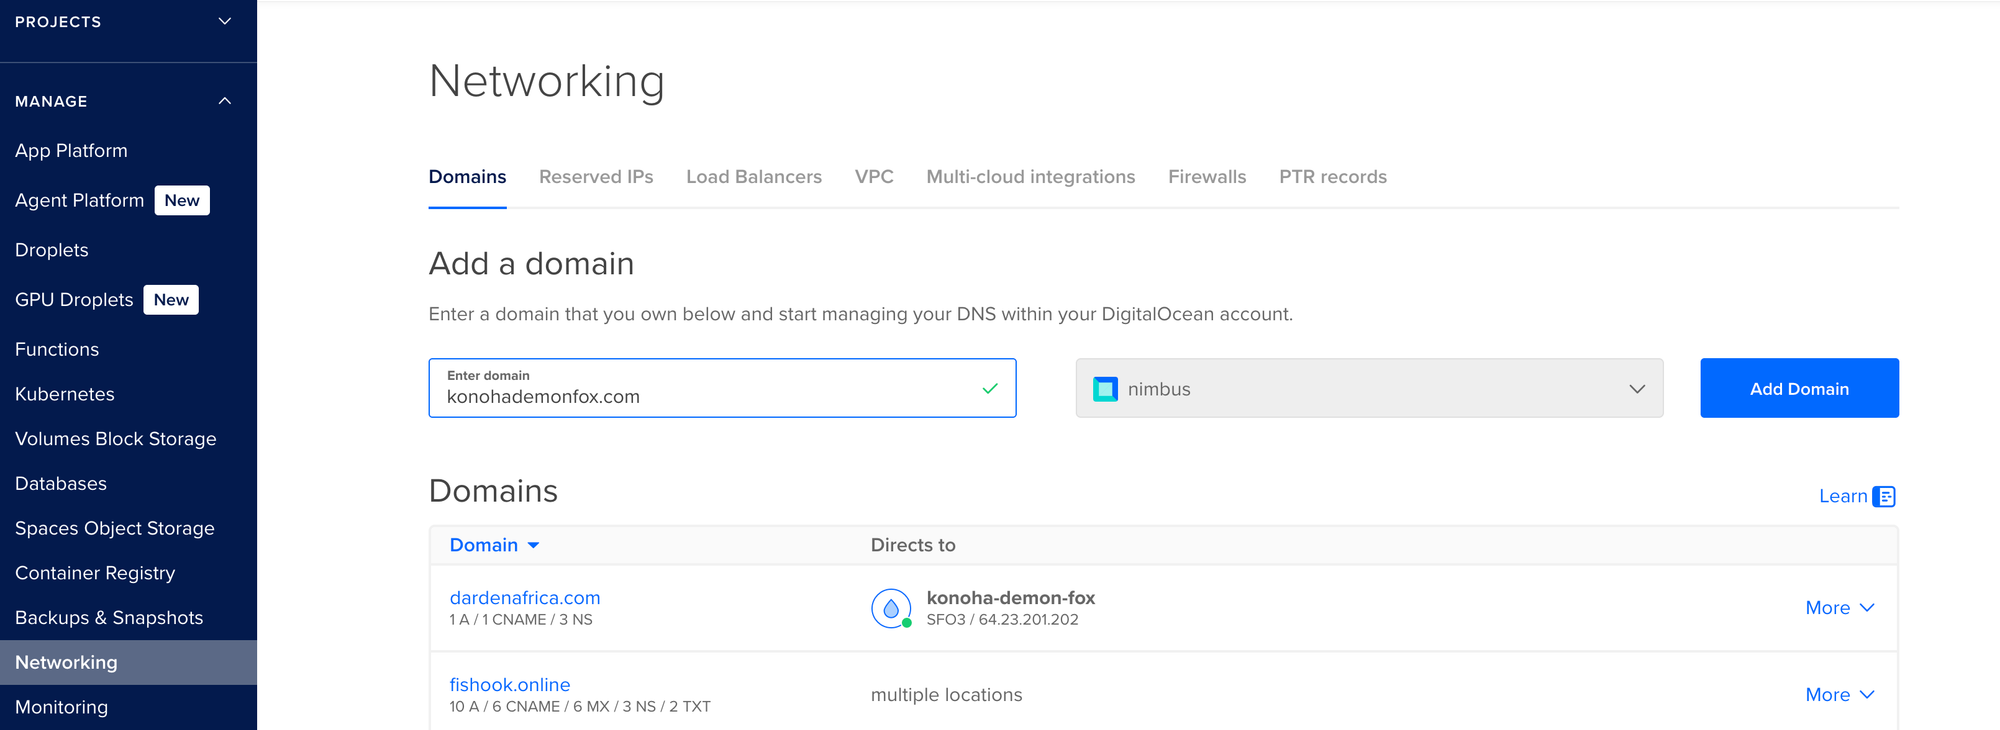
Point the root (@) and www to your droplet here and “Create Record”.


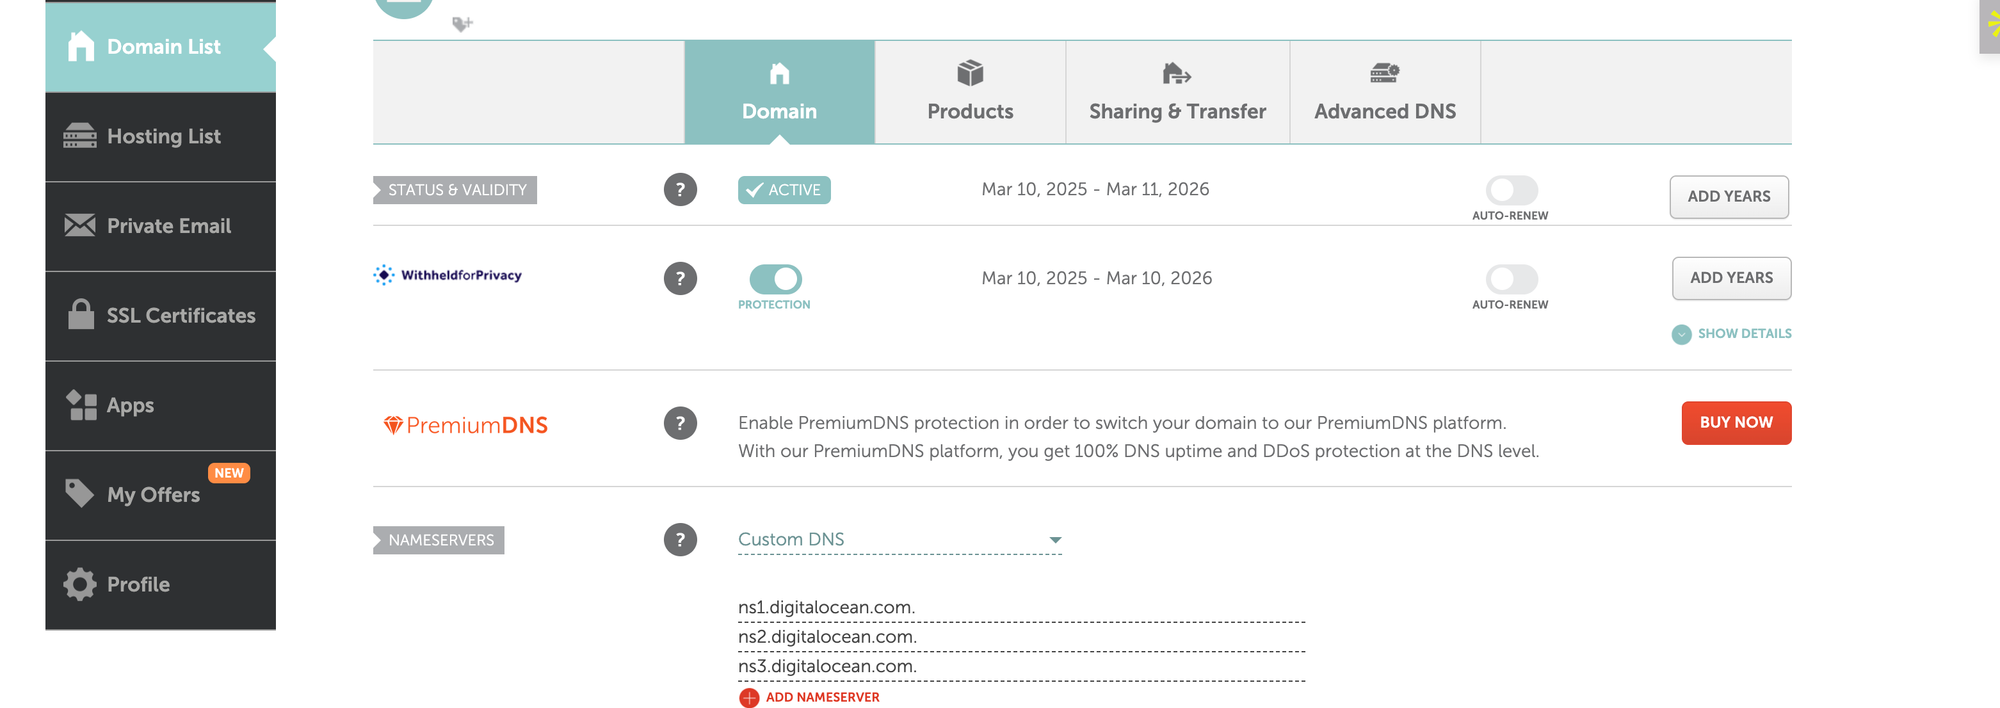
Now, return to your Namecheap account’s domain list and click on ‘Manage’ for your domain. Select Custom DNS here, add ns1.digitalocean.com, ns2.digitalocean.com., ns3.digitalocean.com, and save.
Create an SSL Certificate and enable HTTPS
Finally, let’s add a free SSL certificate with LetsEncrypt.
# Install Certbot
sudo snap install --classic certbot

# Prepare the Certbot command
sudo ln -s /snap/bin/certbot /usr/bin/certbot

# Run this command to get a certificate
sudo certbot --nginx

# Test automatic renewal
sudo certbot renew --dry-run
To confirm that your site is set up correctly, visit
https://yourwebsite.com/
In your browser, look for the lock icon in the URL bar.
Thanks to Hayk Simonyan for the inspiration behind this post. You can view his original post here.

